Posted on March 26, 2020
GHC developers are often in a situation where we want to profile a new change to GHC to see how it affects memory usage or runtime performance. In this post I will describe quite an ergonomic way of profiling any merge request without having to build the branch yourself from source or in any special mode. We’ll download the bindist from GitLab CI and then compile a simple GHC API application which models the compilation pipeline which we can profile.
I recently wanted to profile one of Sebastian Graf’s great patches, seeing as he put up a merge request on GitLab, CI built his patch and produced a bindist for a large number of platforms. This included a Fedora bindist which can be passed to my tool ghc-head-from
in order to enter an environment with his patched version of GHC available.
I found the URL for the bindist for his patch by navigating through the GitLab interface.
ghc-head-from https://gitlab.haskell.org/ghc/ghc/-/jobs/289084/artifacts/raw/ghc-x86_64-fedora27-linux.tar.xz
Once it has finished downloading and installed, which takes a surprising amount of time, the patched version of GHC will be available.
> ghc --version
The Glorious Glasgow Haskell Compilation System, version 8.11.0.20200324
Now we need the program we are going to profile. This is a simple GHC API program which will read arguments from a file called args
and then just compile the modules as specified by the arguments.
module Main where
import Lib
import GHC as G
import GHC.Driver.Session as G
import GHC.Driver.Session
import SrcLoc as G
import Control.Monad
import Control.Monad.IO.Class
import System.Environment
import System.Mem
import Control.Concurrent
import Outputable
initGhcM :: [String] -> Ghc ()
initGhcM xs = do
df1 <- getSessionDynFlags
let cmdOpts = ["-fforce-recomp"] ++ xs
(df2, leftovers, warns) <- G.parseDynamicFlags df1 (map G.noLoc cmdOpts)
setSessionDynFlags df2
ts <- mapM (flip G.guessTarget Nothing) $ map unLoc leftovers
setTargets ts
pprTraceM "Starting" (ppr ts)
void $ G.load LoadAllTargets
main :: IO ()
main = do
xs <- words <$> readFile "args"
let libdir = "/nix/store/c7113gcm42jjjzpgygfmmrivdhrxgvvk-ghc-8.11.0.20200324/lib/ghc-8.11.0.20200324"
runGhc (Just libdir) $ initGhcM xs
In the program you need to set the libdir
to the libdir
for the version of ghc
we just downloaded.
> ghc --print-libdir
/nix/store/c7113gcm42jjjzpgygfmmrivdhrxgvvk-ghc-8.11.0.20200324/lib/ghc-8.11.0.20200324
The args
file contains a list of arguments that you would normally pass to GHC. The wrapper is then compiled as normal, passing both the -package
and -prof
flags.
ghc Profile.hs -package ghc -prof
Say for this example we want to profile a single compilation of Cabal
, how do we know what options we should pass to the wrapper program in order to perform the compilation? The easiest way to work this out is to ask cabal
to compile the project and then copy the arguments it uses to invoke GHC. So in the locally cloned Cabal
repository, we can compile it like normal and pass the -v2
flag to get cabal
to print the options it will use to call GHC.
cabal v2-build -v2 Cabal | tee args
Then open the args
file and delete everything apart from the arguments for the final call to ghc
. The final file should contain a single line with just the options you want to pass to GHC to compile the project.
By using cabal
to get the arguments it will also build any necessary dependencies for us.
Note: You might need to fix some of the include paths if you are running the executable in a different directory.
So now we have the program to profile and something to compile, we can profile using any of the normal profiling modes.
-- Run a time profile
./Profile +RTS -p -l-au
-- Run a heap profile
./Profile +RTS -hy -l-au
Then you can use hs-speedscope
to view the time profile or eventlog2html
to view the heap profile. You will observe that the simplifier is very slow.
The main disadvantage of this approach is that you can’t add any cost centres into the build. GHC comes with a limited number of hand written cost centres but not covering a lot of functions.
It would be nice in future to automate some of these steps to make it even more seamless to profile a specific MR.
]]>Posted on March 16, 2020
Around this point last year I set out to reimplement a lot of the backend of haskell-ide-engine
in order to make it more easily usable with a wide variety of build tools. This effort was largely a success and my branch was merged just before Christmas thanks to the extensive help of Zubin Duggal, Fendor, Alan Zimmerman, Luke Lau and Javier Neira. The main result was an IDE based on the hie-bios
library which abstracts the interface to the different build tools so the IDE itself doesn’t have to worry about how to set up the GHC session.
Since then, the situation is vastly different with the focus now turning to ghcide
and hls
. ghcide
is generally faster and more robust than haskell-ide-engine
because it reimplements certain parts of the GHC API which allow for finer grain recompilation checking. The future extension, hls
, will extend ghcide
with support for code formatters and other diagnostics. I have found implementing extensions to ghcide
much easier and more robust. Both ghcide
and hls
are built on top of hie-bios
.
At Munihac 2019, Neil Mitchell gave a presentation where he described the motivation for ghcide
and a general description of the architecture. In his talk, he describes how you can think of an IDE as a dependency graph, which was greeted by an audience heckle suggesting an FRP library could be used to implement the IDE. The current implementation is based on shake, which has similar properties to an FRP library but with some crucial differences.
The pull-based model of shake does not scale well to large code bases. All requests scale linearly with the number of dependencies which means that even requests such as hovering can take upwards of 1s on a module with a large number of transitive dependencies. A 1s hover response time was enough to get me interested and after attempting to improve the performance I decided that without a fundamental rewrite, the situation could not be improved.
So spurred on by the heckle and the desire for subsecond reponse times it was time to put the money where my mouth was and attempt to reimplement the backend using reflex
instead of shake
. Reflex is push-based which means once the network is constructed changes propagate from input events rather than being pulled from samples. This seemed like a better model for an IDE.
What did I imagine the primary benefits to this project would be?
In short, I now have an IDE which works and is completely implemented using reflex which gives you a point to be able to evaluate the costs and benefits to both approaches.
In this post I will describe some of the basic abstractions which I implemented using reflex
which gives writing the IDE a similar feel. The rest of this post is aimed at people who are already familiar with reflex
and goes into a reasonable amount of detail about specific things to do with reflex and design decisions I had to make.
An early goal of the implementation was to try to reuse as much code as possible from ghcide
. The end result was that I could reuse almost all the code for the rule definitions but had to rewrite a lot of the code which dealt with input events. Therefore there are two main parts to the implementation: the specification of rules and the interpretation of rules into a reflex network.
The program is structured by rules, there is one rule type for each of the different stages of the compilation pipeline. The user provides definitions for these rules and then the rules are combined to form the reflex network.
data RuleType a where
GetFileContents :: RuleType (FileVersion, Maybe T.Text)
GetParsedModule :: RuleType ParsedModule
GetLocatedImports :: RuleType LocatedImports
GetSpanInfo :: RuleType SpansInfo
GetDependencyInformation :: RuleType DependencyInformation
GetDependencies :: RuleType TransitiveDependencies
GetTypecheckedModule :: RuleType TcModuleResult
ReportImportCycles :: RuleType ()
GenerateCore :: RuleType (SafeHaskellMode, CgGuts, ModDetails)
GenerateByteCode :: RuleType Linkable
GhcSession :: RuleType HscEnvEq
GetHiFile :: RuleType HiFileResult
GetModIface :: RuleType HiFileResult
IsFileOfInterest :: RuleType Bool
A RuleType
is a per-module rule, therefore for each module we can ask to get the parsed module for that module and a bunch of other information. As a first approximation, the result of each rule will be stored in a Dynamic
.
The monad which is used for defining rules is called ActionM
, inside the ActionM
monad you can do two things.
liftIO
.use
or use_
.use
is a function which allows you to ask what the current value of a specific rule is.
Whenever use
is invoked in a rule definition, a dependency is added on the value was was sampled. If the value changes in future, the rule will run again and the result recomputed.
Rule definition therefore end up looking a lot like the original shake rule definitions.
generateByteCodeRule :: WRule
generateByteCodeRule =
define GenerateByteCode $ \file -> do
deps <- use_ GetDependencies file
(tm : tms) <- uses_ GetTypecheckedModule (file: transitiveModuleDeps deps)
session <- hscEnv <$> use_ GhcSession file
(_, guts, _) <- use_ GenerateCore file
liftIO $ generateByteCode session [(tmrModSummary x, tmrModInfo x) | x <- tms] tm guts
The bytecode rule will rerun if the dependencies of the file change, the result of typechecking changes, the current session changes or the generated core changes.
Once the body of a rule definition is defined, there are several ways to specify the definition. The simplest is define
, which does not implement early cut-off or external triggering. There are other variants which enable both of these features.
define :: RuleType a -> (forall t . C t => NormalizedFilePath -> ActionM t (HostFrame t) a) -> WRule
Once a rule is defined, like in shake, you put them all in a list and pass them into the function which creates the reflex network.
Each rule is implemented by an MDynamic
, which is a refined Dynamic
which implements early cut-off and lazy initialisation. Early cut-off means that the dynamic will only fire if the value is updated to a new value. Lazy initialisation means that the dynamic will only be populated after it has been demanded once.
The combination of both of these features means that less events are propagated in the network, something we really want to avoid in order to avoid running expensive IO computations.
Early cut-off is implemented by using the Early
wrapper.
The data type stores a hash of the current value and an integer which indicates the number of times the value has been updated (this is used for debugging).
The value in the Early
is only updated if either there is no hash or the hash of the new value is different to the hash of the old value.
early :: (Reflex t, MonadHold t m, MonadFix m) => Dynamic t (Maybe BS.ByteString, a) -> m (Dynamic t (Early a))
early d = scanDynMaybe (\(h, v) -> Early h 0 v) upd d
where
-- Nothing means there's no hash, so always update
upd (Nothing, a) (Early _ n _) = Just (Early Nothing (n + 1) a)
-- If there's already a hash, and we get a new hash then update
upd (Just h, new_a) (Early (Just h') n _) = if h == h'
then Nothing
else (Just (Early (Just h') (n + 1) new_a))
-- No stored, hash, just update
upd (h, new_a) (Early Nothing n _) = Just (Early h (n + 1) new_a)
Most rules do not use the early cut-off functionality and hence the hash is always Nothing
.
Without proper care, when the state for a module is initialised all the information about that module will be computed despite the fact most of it will never be used. For example, you will not need the core for most modules but in early versions of the project the core was always produced because on the first run of the rule, it was observed to depend on the typechecked module and hence was updated when the typechecked module was updated.
In order to solve this we implement the Thunk
data type which has three distinct states:
A thunk either contains a value, is awaiting a value to be provided to it or is inactive. All thunks start out as inactive and are activated by calling the IO
action contained within the Seed
constructor.
When a thunk is sampled, it is activated if it has never been activated before.
sampleThunk :: (Reflex t, MonadIO m, MonadSample t m) => Dynamic t (Thunk a) -> m (Maybe a)
sampleThunk d = do
t <- sample (current d)
case t of
Seed start -> liftIO start >> return Nothing
Awaiting -> return Nothing
Value a -> return (Just a)
It is also important to implement a version of the improvingMaybe
combinator to avoid propagating a lot of updates in the case when the dynamic is repeatedly updated to an Awaiting
value. So a thunk can step from a Seed
to an Awaiting
and from an Awaiting
to a Value
but never back again.
-- Like improvingMaybe, but for the Thunk type
improvingResetableThunk :: (MonadFix m, MonadHold t m, Reflex t, MonadIO m, MonadSample t m) => Dynamic t (Thunk a) -> m (Dynamic t (Thunk a))
improvingResetableThunk = scanDynMaybe id upd
where
-- ok, if you insist, write the new value
upd (Value a) _ = Just (Value a)
-- Wait, once the trigger is pressed
upd Awaiting (Seed {}) = Just Awaiting
upd _ _ = Nothing
It will be good in future to allow resetting thunks in order to implement garbage collection. It is probably that we want to allow reseting from a Just
back to a Nothing
in order to avoid stale information in the network.
There is also a global rule type for parts of the IDE state which are not dependent on a specific module.
data GlobalType a where
GetHscEnv :: GlobalType SessionMap
GhcSessionIO :: GlobalType GhcSessionFun
GetEnv :: GlobalType HscEnv
GetIdeOptions :: GlobalType IdeOptions
OfInterestVar :: GlobalType (HashSet NormalizedFilePath)
FileExistsMapVar :: GlobalType FileExistsMap
GetVFSHandle :: GlobalType VFSHandle
GetInitFuncs :: GlobalType InitParams
IdeConfigurationVar :: GlobalType IdeConfiguration
GetPositionMap :: GlobalType PositionMap
Module rules can depend on global rules in the same manner as per-module rules. The interface for defining a global rule is slightly different to a local rule because the global variables are usually directly populated from events. For example, the OfInterestVar
is modified by the user opening and closing files in their editer and hence it is defined as the combination of these two events.
addIdeGlobal :: GlobalType a -> (forall t . C t => (ReaderT (REnv t) m (Dynamic t a))) -> WRule
ofInterestVar :: WRule
ofInterestVar =
addIdeGlobal OfInterestVar $ do
e1 <- withNotification <$> getHandlerEvent didOpenTextDocumentNotificationHandler
e2 <- withNotification <$> getHandlerEvent didCloseTextDocumentNotificationHandler
upd <- logAction Info (fmapMaybe check e1)
upd2 <- logAction Info (fmapMaybe check2 e2)
foldDyn ($) S.empty (mergeWith (.) [upd, upd2])
where
check (DidOpenTextDocumentParams TextDocumentItem{_uri, _version}) =
whenUriFile _uri Nothing $ \file -> Just (add file, "Opened text document: " <> getUri _uri)
check2 (DidCloseTextDocumentParams TextDocumentIdentifier{_uri}) =
whenUriFile _uri Nothing $ \file -> Just (remove file, "Closed text document:" <> getUri _uri)
add file = S.insert file
remove file = S.delete file
A global is defined in an environment with the other global dynamics and must return a dynamic which is created by combining them together.
The third type of definition is the unit action. Unit actions are useful for parts of your program which don’t contribute any state in the form of definitions. For example, hooking up diagnostics to the output, responding to hover requests, logging and progress notifications.
Unit actions are defined using the unitAction
function.
A unit action is an action which only operates in a reader environment where it can depend on the value of other dynamics but must eventually return unit. For example, in a unit action you can create a local dynamic which combines different dynamics from the global state together before outputting the result to the user. This is how diagnostics are implemented before being fed into the function which sends output back to the language client.
Once we have a list of module rules, global rules and actions, they are combined together in order to form the reflex network. Each global rule is evaluated and turned into a dynamic, module rules are used to define the per-module state when we discover a new file and finally actions are all evaluated to connect additional parts of the network together.
The heart of the implementation is in how the rules report their dependencies in the form of an Event
, which is then used in order to trigger the action in future. This is elegantly expressed recursively in five lines. The result of the call to performAction is Event t (IdeResult a, [Event t EType])
, which is the separated using splitE
before the dependency events are combined with mkDepTrigger
and then used in order to define rebuild_trigger
.
rule = mdo
-- The event which will trigger a rebuild
let rebuild_trigger = (fmap (\e -> leftmost [user_trig', start_trigger, e]) deps')
act_trig <- switchHoldPromptly start_trigger rebuild_trigger
-- When the trigger fires, run the rule
pm <- performAction renv (act f) act_trig
-- Separate the dependencies from the actual result
let (act_res, deps) = splitE pm
let deps' = pushAlways mkDepTrigger deps
...
The use of switchHoldPromptly
is absolutely key to the implementation. It is imperative that if in the same frame a dependency fires then we need to immediately rerun the rule. The network is left in an inconsistent state is the simpler switchHold
is used.
Further processing to the returned result is performed to convert it into an MDynamic
which is then stored in the state.
The per-module state is a pair of a map from the rule type to an MDynamic
and an event which reports diagnostics for that module.
data ModuleState t = ModuleState
{ rules :: DMap RuleType (MDynamic t)
, diags :: Event t (NL.NonEmpty DiagsInfo) }
The state for all modules is stored in a map from the filepath to one of these module state records.
Using a Dynamic
or Incremental
here is important because it means values of the map can be altered as the network is evaluated. For our use-case as we do not know the dependencies of a module until we have parsed the module header.
So when a module rule is attempted to be sampled, there are in fact two possible modes of failure which we can recover from.
In order to report that a sample failed for the first reason, the module map is paired with an action which can be called to trigger the event which adds a new module to the map.
data ModuleMapWithUpdater t =
MMU {
getMap :: ModuleMap t
, updateMap :: [(D.Some RuleType, NormalizedFilePath)] -> IO ()
}
The second situation is dealt with by the Thunk
mechanism described in the previous situation.
Note: There is a place where using batchOccurences
is very useful because during the initialisation of the network, this trigger can be called hundreds of times and it is much more efficient to collect together as many updates as possible.
In the global environment as well as the global variables as defined by rules, there is a collection of events which correspond to external events.
As part of an action definition it is possible to also provide an additional event trigger, constructed from these events, which causes the rule to fire. For example, when a file is saved, the rule which parses a file fires again which causes the changes to propagate through the network.
Global variables are typically constructed by holding these notification events. It is a much nicer model in my opinion than the style previously found in ghcide
where there where some variables were mutated in the handlers and the whole shake graph invalidated.
Note: The way this handler record is constructed by leveraging the barbies
library is interesting in its own right.
I found it important to be able to inspect certain properties of my network during the implementation process. In particular, there were situations where actions were running more than I expected so I wanted to analyse what was causing each rule to fire. There is unfortunately not an existing framework built into reflex for this but it was possible to instrument the application to get some good information.
I started by defining a data type which enumerates the different possible ways a rule can fire.
-- EType is mainly used for debugging why an event is firing too often.
data EType = DepTrigger (D.Some RuleType, NormalizedFilePath)
| MissingTrigger NormalizedFilePath
| StartTrigger
| UserTrigger
deriving Show
Then each event which could contribute to an action firing is tagged with one of these constructors. When the event fires I used traceEvent
in order to output both the action which was firing and the reason for it. Then by capturing this log and using standard unix commands it was possible to analyse situations where things were happening more often than not.
This was the method where I realised it was necessary to use headE
in order to make sure the StartTrigger
event would only fire one time.
So we’ve achieved our goal of proving the implementation is possible but there are still a few places the implementation could be improved. I have also not extensively tested the branch, it is likely there are some bugs to do with stale information.
It isn’t clear to me how to implement progress reporting for the IDE at the moment. All changes to the system are driven by push events, which means that when an event fires the amount of work which will be done can not be determined. This is compounded by the fact reflex is a monadic FRP library so how much is left to do depends on the result of running the rules.
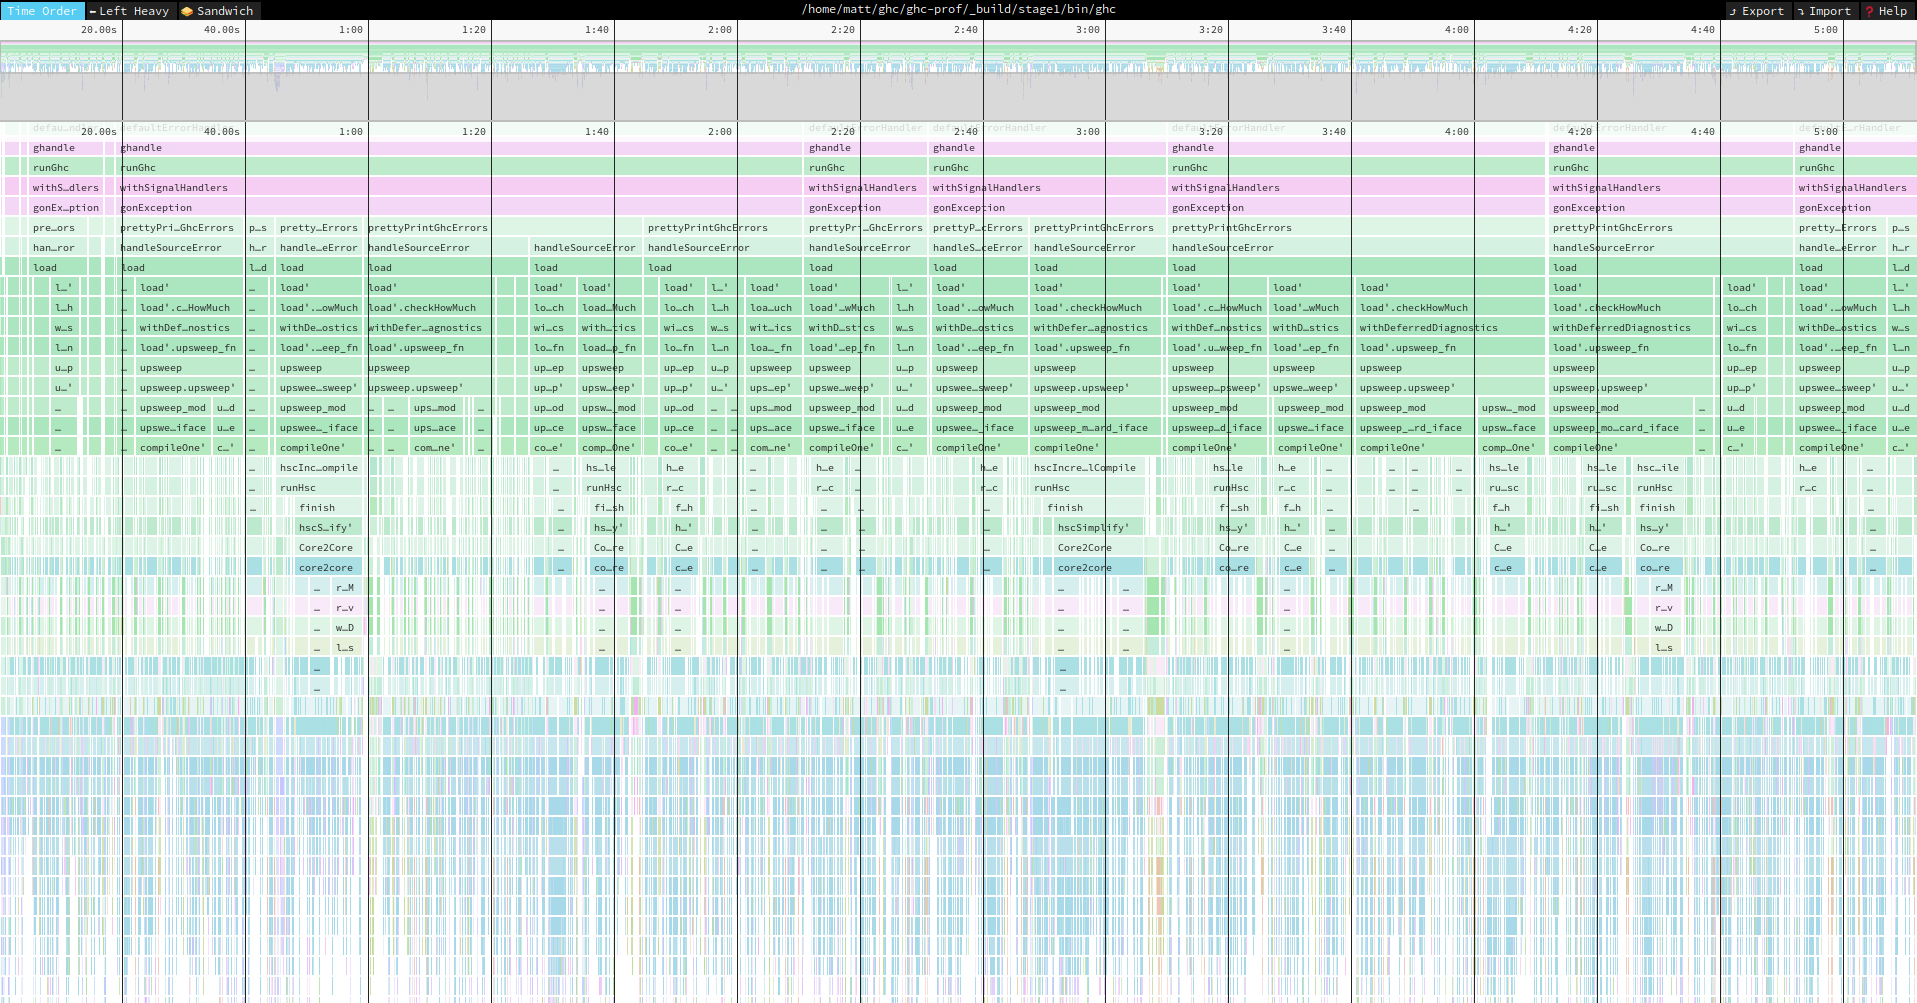
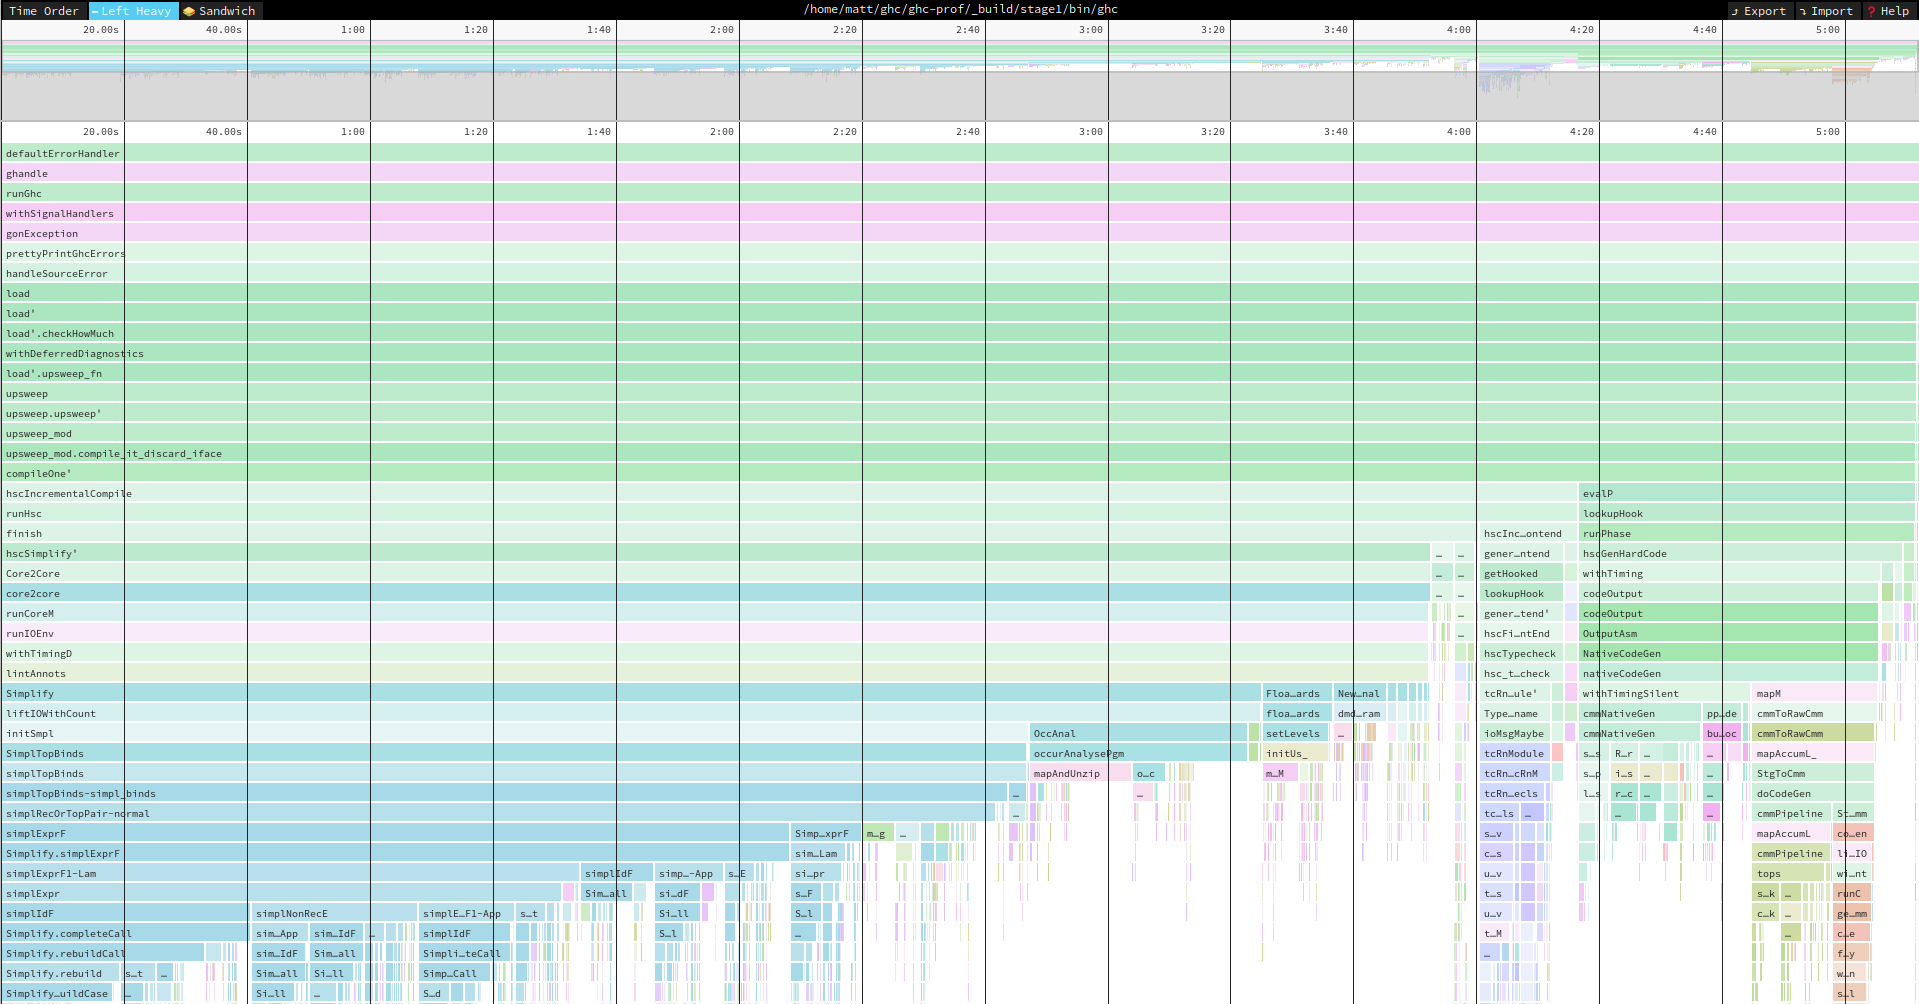
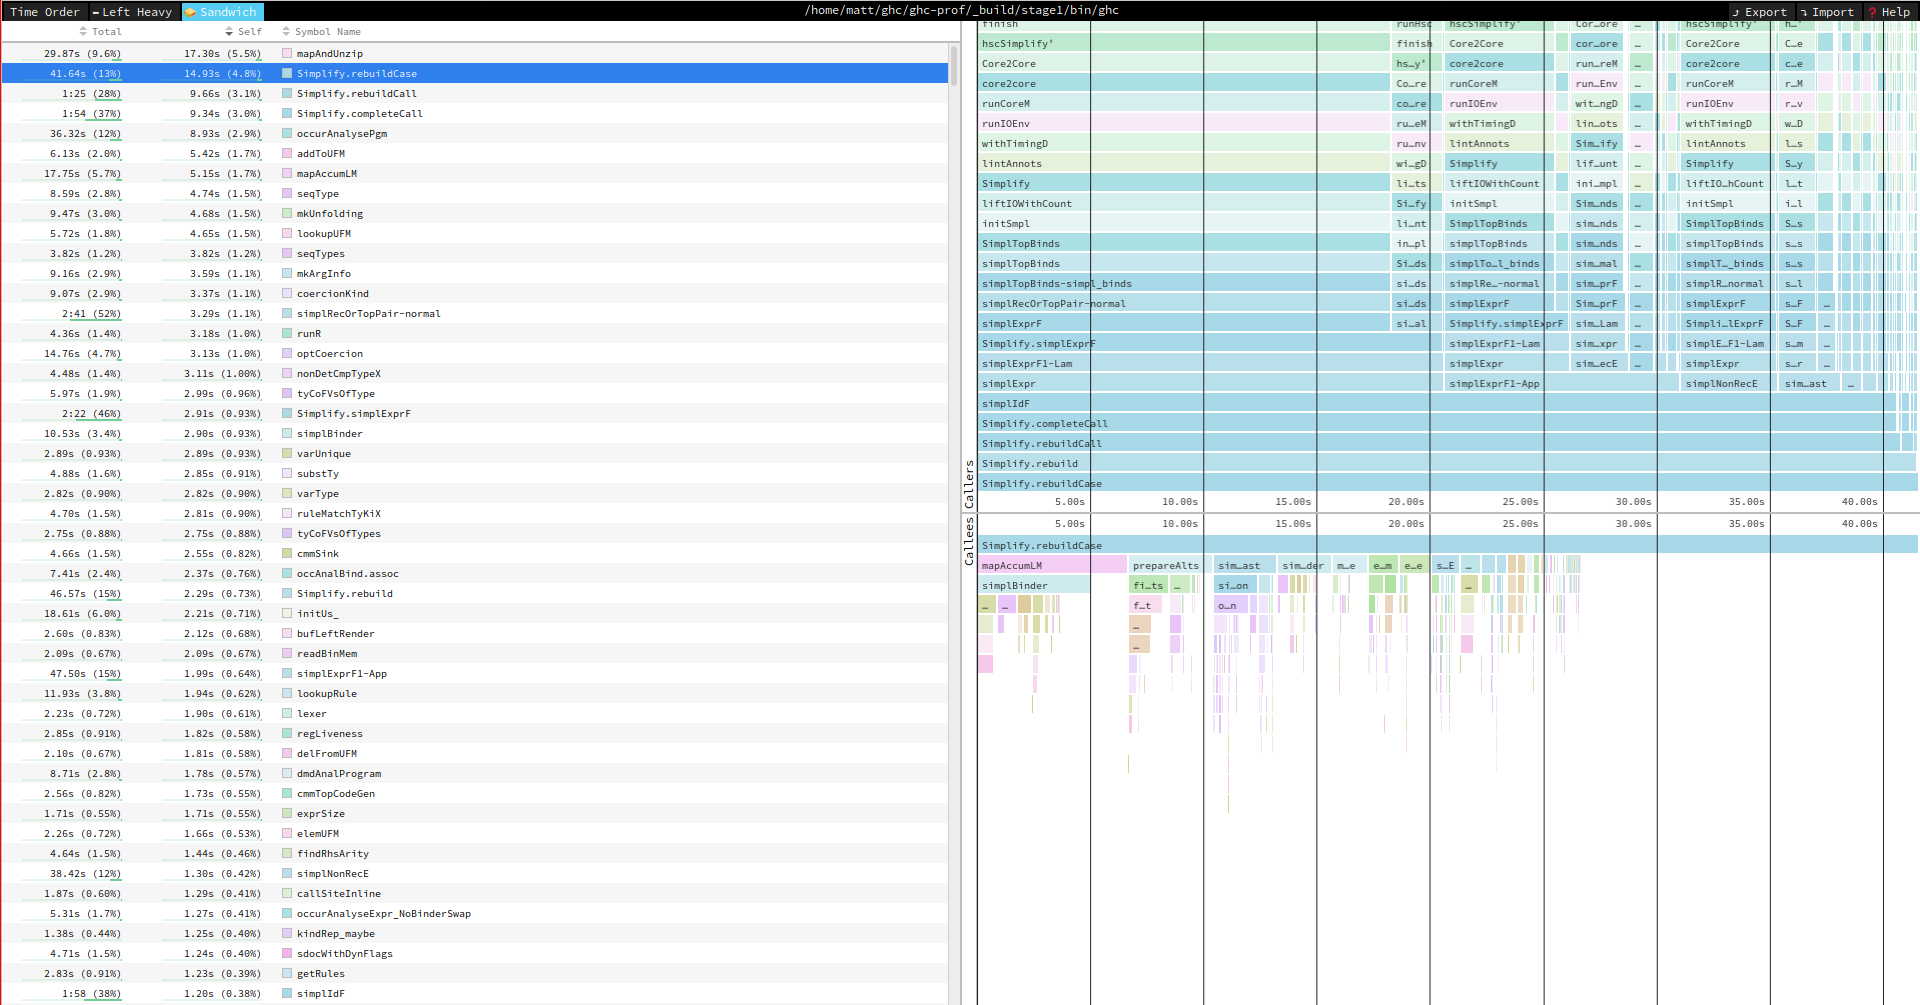
It would be good to have a profiling mode like shake’s profiling mode so the effect of each input event could be analysed in detail. At the moment there is nothing in the reflex ecosystem which can help with this analysis.
It would be very beneficial if the rules could run in separate threads because currently the whole application blocks whilst IO actions are being computed. The usage of MonadSample
is not currently compatible with using performEvent
asynchronously.
For my own sanity, I decided to use a fixed set of rules, as defined by RuleType
in my implementation rather than a dynamic map of rules, as implemented in shake. I have considered a few types going for the dynamic map approach, as it would also be useful for plugins but it has been a low priority for the proof of concept implementation.
I had a great time implementing this fork, my second extensive rewrite of a Haskell IDE. I’m looking forward to rewriting an IDE again next year.
Posted on November 7, 2019
In GHC-8.10 it will become possible to use speedscope to visualise the performance of a Haskell program. speedscope is an interactive flamegraph visualiser, we can use it to visualise the output of the -p
profiling option. Here’s how to use it:
prog +RTS -p -l-au
. This will create an eventlog with cost centre stack sample events.hs-speedscope
. The hs-speedscope
executable takes an eventlog file as the input and produces the speedscope JSON file.prog.eventlog.json
file into speedscope.app.Speedscope then has three modes for viewing the profile. The default mode shows you the executation trace of your program. The call stack extends downwards, the wider the box, the more time was spent in that part of the program. You can select part of the profile by selecting part of the minimap, zoom using +/-
or pan using the arrow keys. The follow examples are from profiling GHC building Cabal:
The first summarised view is accessed by the “left-heavy” tab. This is like the summarised output of the -p
flag. The cost centre stacks which account for the most time will be grouped together at the left of the view. This way you can easily see which executation paths take the longest over the course of the whole executation of the program.
Finally, the “sandwich” view tries to work out which specific cost centre is responsible for the most executation time. You can use this to try to understand the functions which take the most time to execute. How useful this view is depends on the resolution of your cost centres in your program. Speedscope attempts to work out the most expensive cost centre by subtracting the total time spent beneath that cost centre from the time spent in the cost centre. For example, if f
calls g
and h
, the cost of in f
is calculated by the total time for f
minus the time spend in g
and h
. If the cost of f
is high, then there is some computation happening in f
which is not captured by any further cost centres.
The most important difference is that I didn’t implement the visualiser, it is a generic visualiser which can support many different languages. I don’t have to maintain the visualiser or work out how to make it scale to very big profiles. You can easily load 60mb profiles using speedscope without any rendering problems. All the library does is directly convert the eventlog into the generic speedscope JSON format.
If you consult the documentation for speedscope you will see that it claims to support Haskell programs already. Rudimentary support has already been implemented by using the JSON output produced by the -pj
flag but the default view which shows an executation trace of your program hasn’t worked correctly because the output of -pj
is too generalised. If you program ends up calling the same code path many different times during the executation of the program, they are all identified in the final profile.
The second important difference is that each capability will be displayed on a separate profile. This makes profiling more useful for parallel programs.
I added support to dump the raw output from -p
to the eventlog. Now it’s possible to process the raw information in order to produce the format that speedscope requires.
Posted on October 21, 2019
I have decided to organise an informal hackathon in Bristol at the start of next year.
When | 25th-26th January 2020 |
Where | Merchant Venturers Building - University of Bristol |
Time | 09:00 - 17:00 |
Anyone interested in Haskell is welcome to attend. Whether you are a beginner or an expert it would be great to meet you in Bristol.
It is a no-frills hackathon, we’ll provide a room for hacking and wifi but expect little else! There will be no t-shirts, food, talks or other perks. The focus will be 100% on hacking and meeting other Haskell programmers.
For further information about the event and how to register please refer to the dedicated page.
]]>Posted on July 9, 2019
This year I was lucky to have both my papers accepted for the Haskell Symposium. The first one is about the problematic interaction of Typed Template Haskell and implicit arguments and the second, a guide to writing source plugins. Read on the abstracts and download links.
Matthew Pickering, Nicolas Wu, Csongor Kiss (PDF)
Cross-stage persistence is an essential aspect of multi-stage programming that allows a value defined in one stage to be available in another. However, difficulty arises when implicit information held in types, type classes and implicit parameters needs to be persisted. Without a careful treatment of such implicit information—which are pervasive in Haskell—subtle yet avoidable bugs lurk beneath the surface.
This paper demonstrates that in multi-stage programming care must be taken when representing quoted terms so that important implicit information is not discarded. The approach is formalised with a type-system, and an implementation in GHC is presented that fixes problems of the previous incarnation.
Matthew Pickering, Nicolas Wu, Boldizsár Németh (PDF)
A modern compiler calculates and constructs a large amount of information about the programs it compiles. Tooling authors want to take advantage of this information in order to extend the compiler in interesting ways. Source plugins are a mechanism implemented in the Glasgow Haskell Compiler (GHC) which allow inspection and modification of programs as they pass through the compilation pipeline.
This paper is about how to write source plugins. Due to their nature–they are ways to extend the compiler–at least basic knowledge about how the compiler works is critical to designing and implementing a robust and therefore successful plugin. The goal of the paper is to equip would-be plugin authors with inspiration about what kinds of plugins they should write and most importantly with the basic techniques which should be used in order to write them.
Posted on June 24, 2019
eventlog2html
is my new library for visualising Haskell heap profiles as an interactive webpage.
For the documentation, I thought it was important to provide some interactive examples which is why I decided to host my own static webpage rather than rely on a GitHub README. This led to two constraints:
This post is a question about whether the combination of nix, Cachix, Travis CI, haskell.nix and Hakyll was the perfect solution to these constraints or an exercise in overkill.
The static site is generated using Hakyll. The content is written using markdown and rendered using pandoc. Inline charts are specified using special code blocks.
```{.eventlog traces=False }
examples/ghc.eventlog --bands 10
```
A pandoc filter identifiers a code block which has the eventlog
class and replaces it with the suitable visualisation. Options can be specified as attributes or using normal command line arguments.
Using a site generator implemented in Haskell meant that I could import eventlog2html
as a library and use it directly without having to modify the external interface. This ended up being about 40 lines for the filter which inserts eventlogs. There is also a simpler filter which inserts the result of calling --help
.
Using Hakyll has already proved to be a good idea when I wanted to add the examples gallery. It was trivial to generate this page from a folder of eventlogs so that all I have to do to add a new eventlog is commit it to the repo.
So far, I haven’t broken the complexity budget. In order to satisfy the first constraint and keep the generated documentation up to date I created a package for the site. In the cabal.project
file I then added the site’s folder as a subdirectory. Now, hakyll-eventlog
will use the local version of eventlog2html
as a dependency when it builds the site.
packages: .
hakyll-eventlog
The site can be built and run using cabal new-build hakyll-eventlog
. Now we move onto how to perform deployment of the generated site.
CircleCI and Travis are both popular CI providers and they can both to deploy to GitHub Pages. However, the Travis integration was far simpler to set up. There is built-in support for GitHub pages as a deployment target so a single stanza is necessary to perform the deployment.
deploy:
provider: pages
skip_cleanup: true
github_token: $GITHUB_TOKEN
keep_history: true
target_branch: gh-pages
local_dir: site
on:
tags: true
The stanza says, deploy to GitHub pages by pushing the contents of the site
directory to the gh-pages
branch of the current repository. GitHub then serves the contents of the gh-pages
branch on https://mpickering.github.io/eventlog2html
.
Now all we need to do is generate the site
directory. I found it quite daunting to modify the Travis script generated by haskell-ci
so at this point I decided to convert all the CI infrastructure to use nix instead.
An obvious question at this stage is why is nix necessary at all? Wouldn’t a CI configuration which uses cabal have worked equally as well? On reflection, I could think of four reasons why I considered this to be a good idea.
haskell-ci
generated travis file.haskell.nix
A key part in the decision was the new haskell.nix
tooling to build Haskell packages. If you use the normal Haskell infrastructure which is built into nixpkgs then any collaborator has to know about nix in order to fix CI when it breaks. On the other hand, haskell.nix
creates its derivations from the result of cabal new-configure
so it matches up with using a new-build
workflow locally.
Purity is retained by explicitly passing the --index-state
flag to new-configure
so anyone can update the CI configuration by changing the index state parameter in the default.nix
file.
How does this look in practice? The default.nix
is a very concise script which calls haskell.nix
.
let
pin = import ((import ./nix/sources.nix).nixpkgs) {} ;
# Import the Haskell.nix library,
haskell = import (builtins.fetchTarball https://github.com/input-output-hk/haskell.nix/archive/master.tar.gz) { pkgs = pin; };
# Generate the pkgs.nix file using callCabalProjectToNix IFD
pkgPlan = haskell.callCabalProjectToNix
{ index-state = "2019-05-10T00:00:00Z"
; src = pin.lib.cleanSource ./.;};
# Instantiate a package set using the generated file.
pkgSet = haskell.mkCabalProjectPkgSet {
plan-pkgs = import pkgPlan;
pkg-def-extras = [];
modules = [];
};
site = import ./nix/site.nix { nixpkgs = pin; hspkgs = pkgSet.config.hsPkgs; };
in
{ eventlog2html = pkgSet.config.hsPkgs.eventlog2html.components.exes.eventlog2html ;
site = site; }
The callCabalProjectToNix
function is the key. That is the function which calls new-configure
to create the build plan directly using cabal. It produces the same result as calling plan-to-json
manually, as the documentation explains how you should use haskell.nix
. Therefore, the rest of the documentation can be followed but with the difference that the result of callCabalProjectToNix
is passed as an argument to mkCabalProjectPkgSet
rather than an explicit pkgs.nix
file.
A derivation which generates the documentation site is also created. The definition is simple because haskell.nix
takes care of building the site generator for us. All the derivation does it apply the site generator to the contents of the docs/
subdirectory.
{ nixpkgs, hspkgs }:
nixpkgs.stdenv.mkDerivation {
name = "docs-0.1";
src = nixpkgs.lib.cleanSource ../docs;
LANG = "en_US.UTF-8";
LOCALE_ARCHIVE = "${nixpkgs.glibcLocales}/lib/locale/locale-archive";
buildInputs = [ hspkgs.hakyll-eventlog.components.exes.site ];
preConfigure = ''export LANG="en_US.UTF-8";'';
buildPhase = ''site build'';
installPhase = ''cp -r _site $out'';
}
Evaluating default.nix
results in the a set containing the two outputs of the project. The executable eventlog2html
and the documentation site. You can build each attribute locally
cachix use mpickering
nix build -f . eventlog2html
nix build -f . site
but also by passing a link to the generated github tarball.
nix run -f https://github.com/mpickering/eventlog2html/archive/master.tar.gz eventlog2html -c eventlog2html my-leaky-program.eventlog
The build job now calls nix to build these scripts and uses the -o
flag to place the output into the site
directory. The precise location where Travis expected to find the generated site so the deployment step can now find the files.
- stage: build documentation
script:
- nix-env -iA cachix -f https://cachix.org/api/v1/install
- cachix use mpickering
- cachix push mpickering --watch-store&
- nix-build -A site -o site
We use Cachix to cache the result of building the individual derivations. This makes a huge difference to the total time that CI takes to run.
You can greatly speed up the initial CI runs by pushing local build artifacts to travis.
nix-store -qR --include-outputs $(nix-instantiate default.nix) | cachix push mpickering
That’s basically it. Despite a complicated amalgamation of tools, everything worked out nicely together without any horrible hacks. All I had to do was to work out how to fix the pieces together. When using bleeding edge technology such as haskell.nix
, this isn’t always straightforward but now I’ve documented my struggles the next person should find it easier.
We need to set two env vars for CI to work. You have to encrypt these so you can place them into the public .travis.yml
file without exposing secrets.
GITHUB_TOKEN
- To allow travis to push to the repoCACHIX_SIGNING_KEY
- To allow Cachix to push to a cacheTo generate the GITHUB_TOKEN
go to GitHub settings and generate a token with the public_repo
permissions.
The CACHIX_SIGNING_KEY
can be found in ~/.config/cachix/cachix.dhall
in the secreyKey
field for the corresponding binary cache.
Once you have the keys you have to encrypt them using the travis
command line application.
nix-shell -p travis
travis encrypt GITHUB_TOKEN=token
travis encrypt CACHIX_SIGNING_KEY=token
Then copy and paste the result into your .travis.yml
file. Make sure you add the -
so the field is treated as a list. Otherwise Travis will ignore one of your keys.
Posted on June 11, 2019
In the old days of the Make build system, the only reliable IDE-like feature which was useful whilst working on GHC was a tags file. Even loading GHC into GHCi was not easily possible, the most simple of interactive development workflows. Thankfully now times are changing, there are now build targets to start a GHCi session which enables developers to use tooling such as ghcid or vscode-ghc-simple. Something which is quite important when working on a project with over 500 modules!
In this post we’ll briefly describe some recent advancements in developer tooling which have been made possible by the move to Hadrian.
ghci
The first target allows a developer to load GHC into GHCi. The -fno-code
option is used which means that you can’t evaluate any expressions. It is useful for rapid feedback.
ghcid
ghcid
can be used whilst working on ghc
by invoking the ./hadrian/ghci.sh
target.
There is a .ghcid
file included in the repo which includes some basic settings instructing .ghcid
to reload the session if hadrian/
changes. It might also be useful to add further directories here so that working with the many components of ghc
is seamless.
haskell-ide-engine
Once you have a working ghci
target then in theory it becomes possible to use all other tooling with your build system. I realised that it would be possible to get haskell-ide-engine
working with ghc
but it required a very significant refactor.
Here's a short demo of using haskell-ide-engine on GHC's code base using my fork which integrates HIE into hadrian/cabal/rules_haskell/stack/obelisk pic.twitter.com/rA1ps7dSb1
— Matthew Pickering ((???)) March 27, 2019
As a result, the branch can’t easily be merged back into the main repo but once it is merged then haskell-ide-engine
will be more flexible and target agnostic.
:main
A final goal is to be able to run GHC’s main
function from inside the interpreter. In order to do this it’s necessary to interpret the code rather than pass -fno-code
. With some modifications to the ./hadrian/ghci.sh
script and patches by Michael Sloan we have been able to load load ghc
into GHCi
in the interpreted mode.
Unfortunately, this isn’t enough as in order to build programs with HEAD
you also need to build libraries such as base
with HEAD
. The way around this is to first compile stage2 and then use the stage2 compiler to launch GHCi and load GHC into that. Then the libraries will be the correct versions and can be used to compile other modules.
A few months ago I got this working but since then it seems that the workflow has been broken. It’s a bit unfortunate that you have to jump through so many hoops in order to compile even a simple module but this is a unavoidable consequence of how GHC compiles and uses modules.
Once you can execute :main
, you can also use the GHCi debugger to debug GHC itself! This works without any problems but until you can use :main
to compile programs then its of limited utility. I used the debugger to find the original reason why :main
was failing whe compiling a program.
Posted on June 11, 2019
The new GHC GitLab CI infrastructure builds hundreds of different commits a week. Each commit on master
is built, as well as any merge requests; each build produces an bindist which can be downloaded and installed on the relevant platform.
ghc-artefact-nix
provides a program ghc-head-from
which downloads and enters a shell providing an artefact built with GitLab CI.
ghc-artefact-nix
You can install ghc-head-from
using NUR
.
nix-shell -p nur.repos.mpickering.ghc-head-from
There are three modes of operation.
master
ghc-head-from
ghc-head-from 1107
ghc-head-from https://gitlab.haskell.org/ghc/ghc/-/jobs/98842/artifacts/raw/ghc-x86_64-fedora27-linux.tar.xz
The URL you provide has to be a direct link to a fedora27
bindist.
The bindist is downloaded from the (very flaky) CDN and patched to remove platform specific paths. The fedora27
job is used because it is built using ncurses6
which works better with nix.
The old-ghc-nix
repo provides a mkGhc
function which can be used in a nix expression to create an attribute for a specific bindist. It is also packaged using NUR
.
nur.repos.mpickering.ghc.mkGhc
{ url = "https://gitlab-artifact-url.com"; hash = "sha256"; ncursesVersion = "6"; }
The ncursesVersion
attribute is important to set for fedora27
jobs as the function assumes that the bindist was built with deb8
which uses ncurses5
.
If you plan on using the artefact for a while then make sure you click the “keep” button on the artefact download page as otherwise it will be deleted after a week. This is very useful if you are developing a library against an unreleased version of the compiler and want to make sure all your collaborators are using the same version of GHC.
]]>Posted on February 14, 2019
Writing programs explicitly in stages gives you guarantees that abstraction will be removed. A guarantee that the optimiser most certainly does not give you.
After spending the majority of my early 20s inside the optimiser, I decided enough was enough and it was time to gain back control over how my programs were partially evaluated.
So in this post I’ll give an example of how I took back control and eliminated two levels of abstraction for an interpreter by writing a program which runs in three stages.
Enter: An applicative interpreter for Hutton’s razor.
data Expr = Val Int | Add Expr Expr
eval :: Applicative m => Expr -> m Int
eval (Val n) = pure n
eval (Add e1 e2) = (+) <$> eval e1 <*> eval e2
Written simply at one level, there are two levels of abstraction which could be failed to be eliminated.
Expr
.Applicative
then we can remove the indirection from the typeclass.Using typed Template Haskell we’ll work out how to remove both of these layers.
First we’ll have a look at how to stage the program just to eliminate the expression without discussion the application fragment. This is a two-stage program.
module Two where
import Language.Haskell.TH
data Expr = Val Int | Add Expr Expr
eval :: Expr -> TExpQ Int
eval (Val n) = [|| n ||]
eval (Add e1 e2) = [|| $$(eval e1) + $$(eval e2) ||]
The eval function takes an expression and generates code which unrolls the expression that needs to be evaluated.
Splicing in eval
gives us a chain of additions which are computed at run-time.
$$(eval (Add (Val 1) (Val 2)))
=> 1 + 2
By explicitly separating the program into stages we know that there will be no mention of Expr
in the resulting program.
That’s good. Eliminating the Expr
data type was easy. We’ll have to work a bit more to eliminate the applicative.
In the first stage, we will eliminate the expression in the same manner but instead of producing an Int
, we will produce a SynApplicative
which is a syntactic representation of an applicative. This allows us to inspect the structure of the program in the second stage and remove that overhead as well.
data SynApplicative a where
Return :: WithCode a -> SynApplicative a
App :: SynApplicative (a -> b) -> SynApplicative a -> SynApplicative b
data WithCode a = WithCode { _val :: a, _code :: TExpQ a }
WithCode
is a wrapper which pairs a value with a code fragment which was used to produce that value.
If you notice in the earlier example, this wasn’t necessary when it was known that we needed to persist an Int
, as there is a Lift
instance for Int
. However, in general, not all values can be persisted so using WithCode
is more general and flexible, if a bit more verbose.
elimExpr
eliminates the first layer of abstraction and returns code which generates a SynApplicative
.
elimExpr :: Expr -> TExpQ (SynApplicative Int)
elimExpr (Val n) = [|| Return (WithCode n (liftT n)) ||]
elimExpr (Add e1 e2) =
[|| Return (WithCode (+) codePlus)
`App` $$(elimExpr e1)
`App` $$(elimExpr e2) ||]
liftT :: Lift a => a -> TExpQ a
liftT = unsafeTExpCoerce . lift
codePlus = [|| (+) ||]
In the case for Add
we encounter a situation where we would have liked to use nested brackets to persist the value of [|| (+) ||]
. Instead you have to lift it to the top level and then persist that identifier.
Next, it’s time to provide an interpreter to remove the abstraction of the applicative. In order to do this, we need to provide a dictionary which will be used to give the interpretation of the applicative commands.
data ApplicativeDict m =
ApplicativeDict
{ _return :: (forall a . WithCode (a -> m a)),
_ap :: (forall a b . WithCode (m (a -> b) -> m a -> m b))
}
WithCode
is necessary again as it will be used to generate a program so it’s necessary to know how to implement the methods.
elimApplicative
:: SynApplicative a
-> ApplicativeDict m
-> TExpQ (m a)
elimApplicative (Return v) d@ApplicativeDict{..}
= [|| $$(_code _return) $$(_code v) ||]
elimApplicative (App e1 e2) d@ApplicativeDict{..}
= [|| $$(_code _ap) $$(elimApplicative e1 d) $$(elimApplicative e2 d) ||]
This interpretation is very boring as it just amounts to replacing all the constructors with their implementations. However, it is exciting that we have guaranteed the removal of the overhead of the applicative abstraction.
Now that we’ve written two functions independently to to eliminate the two layers, they need to be combined together. This is the birth of our three-stage program.
import Three
elim :: Identity Int
elim = $$(elimApplicative $$(elimExpr (Add (Val 1) (Val 2))) identityDict)
identityDict = ApplicativeDict{..}
where
_return = WithCode Identity [|| Identity ||]
_ap = WithCode idAp [|| idAp ||]
idAp :: Identity (a -> b) -> Identity a -> Identity b
idAp (Identity f) (Identity a) = Identity (f a)
elim
is the combination of elimApplicative
and elimExpr
. The nested splices indicate that the program is more than two levels.
Using -ddump-splices
we can have a look at the program that gets generated.
Test.hs:10:30-59: Splicing expression
elimExpr (Add (Val 1) (Val 2))
======>
((Return ((WithCode (+)) codePlus)
`App` Return ((WithCode 1) (liftT 1)))
`App` Return ((WithCode 2) (liftT 2)))
Test.hs:10:11-73: Splicing expression
elimApplicative $$(elimExpr (Add (Val 1) (Val 2))) identityDict
======>
(idAp ((idAp (Identity (+))) (Identity 1))) (Identity 2)
Both steps appear in the debug output with the code which was produced at each step. Notice that we had very precise control over what code was generated and that functions like idAp
are not inlined. In this case, the compiler will certainly inline idAp
and so on but in general it might be useful to generate code which contains calls to GHC.Exts.inline
to force even recursive functions to be inlined once.
In general, splitting your program up into stages is quite difficult so mechanisms like type class specialisation will be easier to achieve. In controlled situations though, staging gives you the guarantees you need.
Posted on January 31, 2019
Quotation is one of the key elements of metaprogramming. Quoting an expression e
gives us a representation of e
.
[| e |] :: Repr
What this representation is depends on the metaprogramming framework and what we can do with the representation depends on the representation. The most common choice is to dissallow any inspection of the representation type relying on the other primative operation, the splice, in order to insert quoted values into larger programs.
The purpose of this post is to explain how to implemented nested quotations. From our previous example, quoting a term e
, gives us a term which represents e
. It follows that we should be allowed to nest quotations so that quoting a quotation gives us a representation of that quotation.
[| [| 4 + 5 |] |]
However, nesting brackets in this manner has been disallowed in Template Haskell for a number of years despite nested splices being permitted. I wondered why this restriction was in place and it seemed that no one knew the answer. It turns out, there was no technical reason and implementing nested brackets is straightforward once you think about it correctly.
We will now be concrete and talk about how these mechanisms are implemented in Template Haskell.
In Template Haskell the representation type of expressions is called Exp
. It is a simple ADT which mirrors source Haskell programs very closely. For example quoting 2 + 3
might be represented by:
[| 2 + 3 |] :: Exp
= InfixE (Just (LitE 5)) (VarE +) (Just (LitE 5))
Because Exp
is a normal data type we can define its representation in the same manner as any user defined data type. This is the purpose of the Lift
type class which defines how to turn a value into its representation.
class Lift t where
lift :: t -> Q Exp
So we just need to implement instance Lift (Q Exp)
and we’re done. To do that we implement a general instance for Lift (Q a)
and then also an instance for Exp
.
instance Lift a => Lift (Q a) where
lift qe = qe >>= \b' -> lift b' >>= \b'' -> return ((VarE 'return) `AppE` b'')
This instance collapses effects from building the inner code value into a single outer layer. In order to make the types line up correctly, we have to insert a call to return
to the result of lifting the inner expression.
Instances for Exp
and all its connected types are straightforward to define and thankfully we can use the DeriveLift
extension in order to derive them.
deriving instance Lift Exp
... 40 more instances
deriving instance Lift PatSynDir
It’s now possible to write a useless program which lifts a boolean value twice before splicing it twice to get back the original program.
-- foo = True
foo :: Bool
foo = $($(lift (lift True)))
Running this program with -ddump-splices
would show us that when the first splice is run, the code that is insert is the representation of True
. After the second splice is run, this representation is turned back into True
.
If you use variables in a bracket the compiler has to persist their value from one stage to another so that they remain bound and bound to the correct value when we splice in the quote.
For example, quoting x
, we need to remember that the x
refers to the x
bound to the top-level which is equal to 5
.
x = 5
foo = [| x |]
If we didn’t when splicing in foo
, in another module, we would use whatever x
was in scope or end up with an unbound reference to x
. No good at all.
For a locally bound variable, we can’t already precisely know the value of the variable. We will only know it later at runtime when the function is applied.
foo x = [| x |]
Thus, we must know for any value that x
can take, how we construct its representation. If we remember, that’s precisely what the Lift
class is for. So, to correct this cross-stage reference, we replace the variable x
with a splice (which lowers the level by one) and a call to lift
.
foo x = [| $(lift x) |]
The logic for persisting variables has to be extended to work with nested brackets.
foo3 :: Lift a => a -> Q Exp
foo3 x = [| [| x |] |]
In foo3
, x
is used at level 2 but defined at level 0, hence we must insert two levels of splices and two levels of lifting to rectify the stages.
foo3 :: Lift a => a -> Q Exp
foo3 x = [| [| $($(lift(lift x))) |] |]
Now with nested brackets, you can also lift variables defined in future stages.
foo4 :: Q Exp
foo4 = [| \x -> [| x |] |]
Now x
is defined at stage 1 and used in stage 2. So, like normal, we need to insert a lift and splice in order to realign the stages. This time, just one splice as we just need to lift it one level.
foo4 :: Q Exp
foo4 = [| \x -> [| $(lift x) |] |]
After renaming a bracket, all the splices inside the bracket are moved into an associated environment.
foo = [| $(e) |]
=> [| x |]_{ x = e }
When renaming the RHS of foo
, we replace the splice of e
with a new variable x
, this is termed the “splice point” for the expression e
. Then, a new binding is added to the environment for the bracket which says that any reference to x
inside the bracket refers to e
. That means when we make the representation of the code inside the bracket, occurences of x
are replaced with e
directly (rather than a representation of x
) in the program.
The same mechanism is used for the implicit splices we create by instances of cross-stage persistence.
qux x = [| x |]
=> [| $(lift x) |]
=> [| x' |]_{ x' = lift x }
The environment is special in the sense that it connects a stage 1 variable with an expression at stage 0.
How is this implemented? When we see a splice we rename it and the write it to a state variable whose scope is delimited by the bracket. Once the contents of the bracket is finished being renamed we read the contents and use that as the environment.
Nested splices work immediately with nested brackets. When there is a nested bracket, the expression on the inside is first floated outwards into the inner brackets environment.
foo n = [| [| $($(n)) |] |]
=> [| [| x |]_{x=$(n)} |]
=> [| [| x |]_{x = y} |]_{y = n}
Then it is floated again to the top-level leaving a behind a trail of bindings.
Template Haskell represents renamed terms so that references remain constent after splicing. As such, our representation of a quotation in the TH AST should reflect the renamed form of brackets which includes the environment.
data Exp = ... | BrackE [(Var, Exp)] Exp | ...
The constructor therefore takes a list which is the environment mapping splice points to expressions and a representation of the quoted expression.
It is invariant that there are no splice forms in renamed syntax as they are all replaced during renaming into this environment form.
To represent a simple quoted expression will have an empty environment but if we also use splices then these are included as well.
[| [| 4 |] |] => BrackE [] (representation of 4)
[| [| $(foo) |] |] => BrackE [(x, representation of foo)] (representation of x)
Those are the details of implementing nested brackets, if you ever need to for your own language. In the end, the patch was quite simple but it took quite a bit of thinking to work out the correct way to propagate the splices and build the correct representation.
]]>